Table of Contents
Every iPhone and iPad comes with a built-in Mail app. In this step-by-step guide, you’ll learn how to add your email to iOS devices quickly and easily. Whether it’s Gmail, Outlook, or a custom domain email, this tutorial will show you how to integrate your account with iOS Mail for seamless email access.
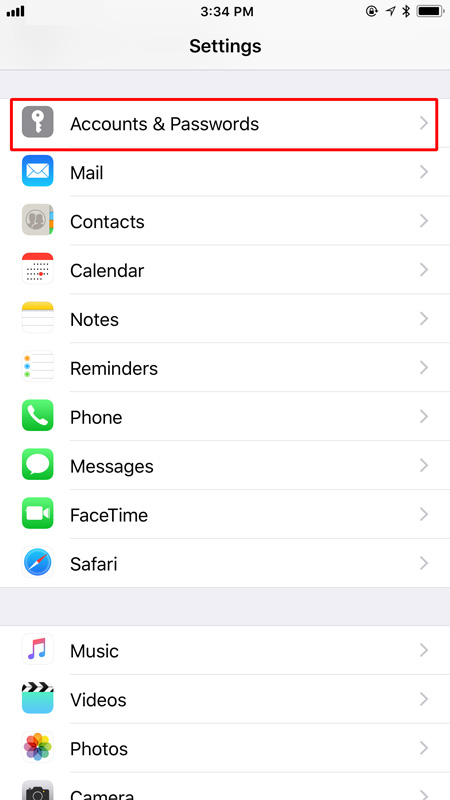
Step 1: Open Settings to Add Your Email on iOS
In your iPhone, got to Settings > Accounts & Passwords.
Step 2: Select ‘Add Account’ to Set Up Your Email
Select Add Account.

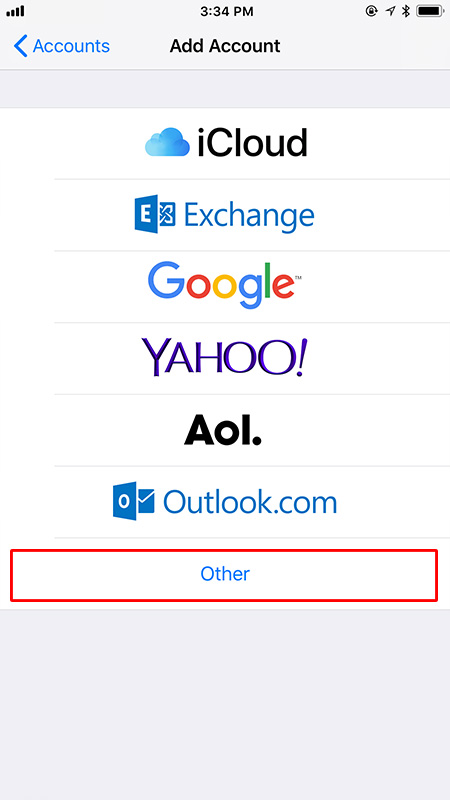
Step 3: Choose ‘Other’ to Add Email to iPhone/iPad
Select “Other”.
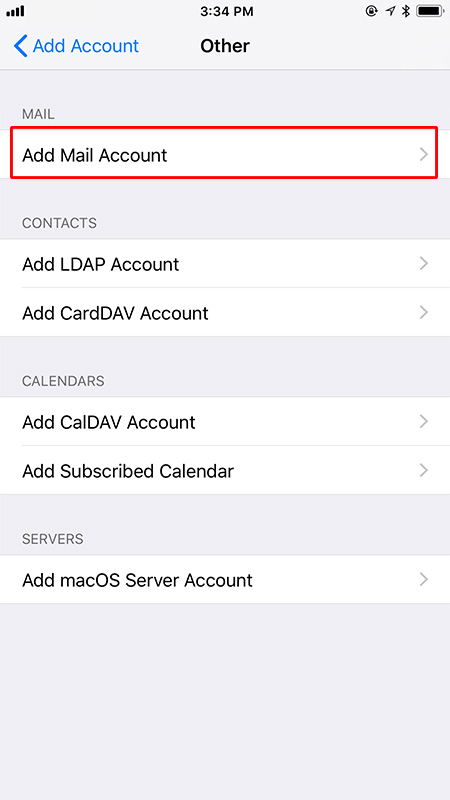
Step 4: Add Mail Account on iOS Device
Select “Add Mail Account”.
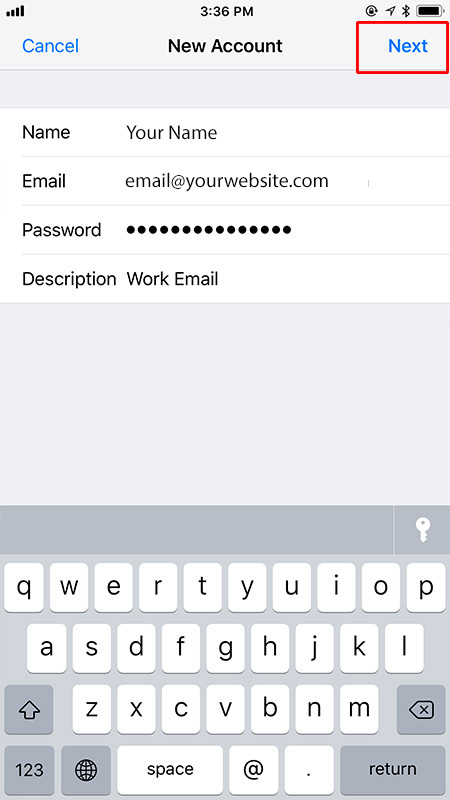
Step 5: Enter Your Email Details for iOS Mail
Insert your name, email, and password. Click “Next” when done.
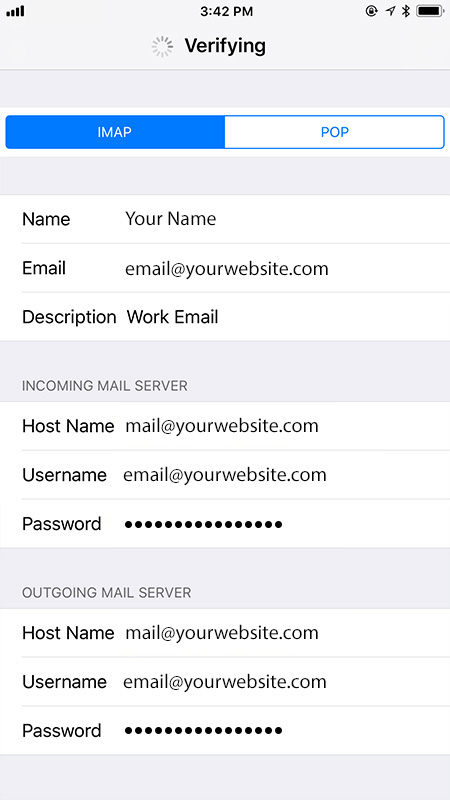
Enter your mail settings:
- Host Name: mail.yourwebsite.com
- Username: your full email address
- Password: your email password
Use the same info for both Incoming and Outgoing servers.
Step 6: Configure Incoming & Outgoing Server
Insert accordingly,
Host Name is start with “mail.” and following with your website address.
eg: mail.yourwebsite.com
Username is your email address.
And password is your password to your email address.
Input the same for both Incoming and Outgoing Server
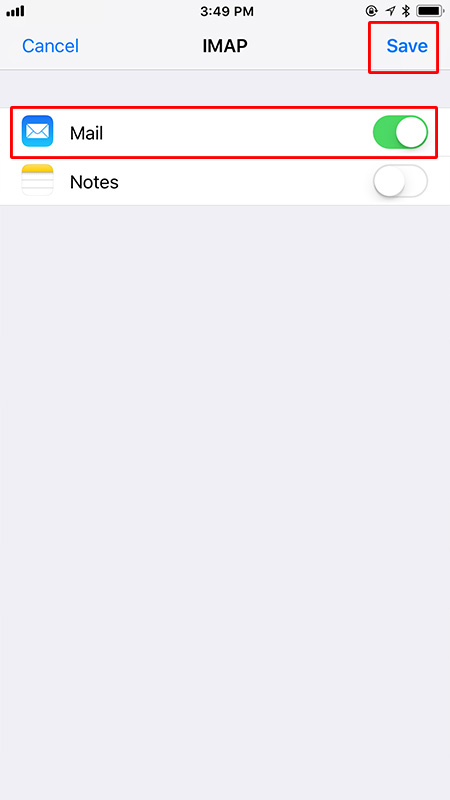
Step 7: Save Your Email on iOS Device
Make sure “Mail” is selected, click “Save”.
Now you can send and receive email from your iOS device.
After completing these steps, your email is successfully set up on iOS, and you can now send and receive emails directly from your iPhone or iPad. Need more help? Check Apple’s official guide or explore our tutorial on setting up Gmail on iOS. Start enjoying seamless email access today!